The Photographers Road Trip Guide
So, if you want to go on a photography road trip, you pick your favorite spots from Instagram to hit up. You’re all set right? Well, not exactly. There are some major factors you should consider before planning the trip.
As a landscape photographer, I spend a huge portion of my photography traveling and because of that, I want to capitalize on every moment possible while on the roa, with so many places to go and so little time we want to be mindful and effective in our travels. Like most of you, I see something amazing place online or on social media and think I want to see that in person. That’s how I came across the Scripps Pier sun alignment. I thought that was my next trip, but before I started to book everything I had to know more information, a lot more.
So here is my list of the most important things to consider when planning a photography based road trip.
Research, Research, Research
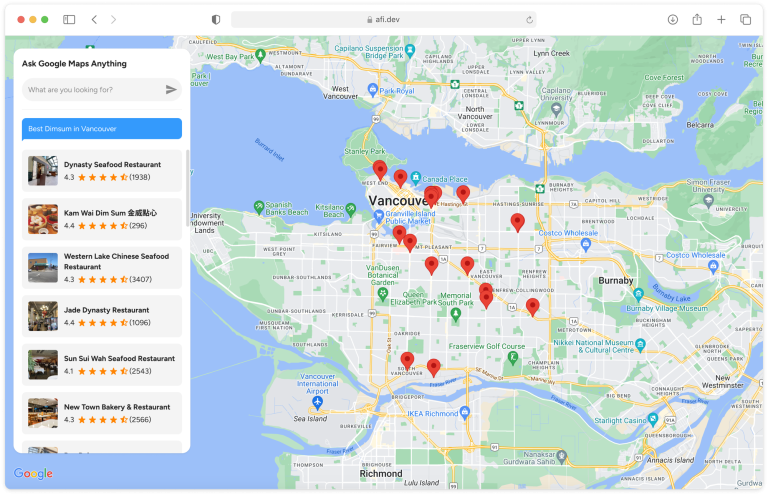
If you don’t plan, then you plan to fail! A classic quote that holds even today. When I first found out about the sun alignment at Scripps Pier, I had to do two important things first. Find out where it was and when it happened. When I research a spot, my go-to site is Google Maps You can create maps that can be referred to even on your mobile device. You don’t want to find yourself looking for your iconic spot only to learn you are miles away. To get the most accurate information start with city and government websites.
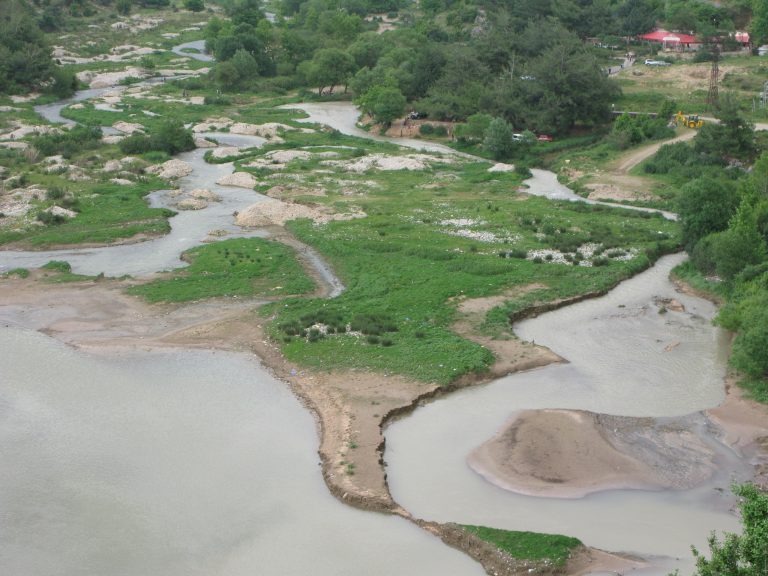
Now that we know where to go we now need to know when to be there. For example, the sun alignment event only happens two times per year and within those two times of the year, the sun only aligns directly down the middle of the pier for only two days. Check tide tables if you are going to be shooting along the coast. It is important to know if the beach you want to shoot at will be under high tide or open for low tide. Consistently checking weather apps and websites to get an accurate idea of the weather is also crucial.
Plan Your Trip
The next step is to lay out the drive. Trust me when I say this is important. The worst thing you can do is to not plan out your next stop and miss out on the best light. I’ve been that guy in his car freaking out as I watch the sunset explode and I’m stuck on a highway.

Start with the locations you want to photograph, now that you know when the light is best for each plan your route for maximum efficiency. Even if you have a day that is completely travel try to find a location near where you are stopping to take in the views at sunset.
Pro Tip:
When looking for places to spend the night, campgrounds make for great stops. If you are thinking about #vanlife, truck stops are great for overnight stays. Please be sure to check with local laws, signage, and retailers to make sure you are following the rules.
Now that we have our route mapped we need to look at where to stop for food, fuel, traffic, and rest. Often overlooked when planning, these factors can add loads of time to your travels. For days that you are not traveling use this time to explore and scout locations.
Before you Embark
Now that you have everything planned out there are still a few things left to do. Some of these could save you heaps of trouble on the road.
- Let friends and family in on your itinerary and route.
- See your Doctor for a quick health check.
- Take your vehicle in for a service and mechanical check.
- Make sure all your documents are in order, from passport to insurance.
Have a Back Up Plan
As much as I like to be prepared for everything and make sure I am on schedule, it is important to your experience and your craft to leave room to be creative or inspired. You will find there are times you will get a gut feeling about a location or the weather and it might take you away from photographing your plan A.
Gear Talk
Gear will always come down to personal style and your goals, but there will always be the core things to pack with you.
1. Always take a spare body, even if it stays in the car for the entire trip, you will thank me later if something catastrophic happens to your main camera.
2. Take more glass. I almost always shoot very wide landscapes, but there are those times when the location does not work ultra-wide. Taking a long lens can save you from missing the composition you want. I generally have a range from 14mm to 600mm.
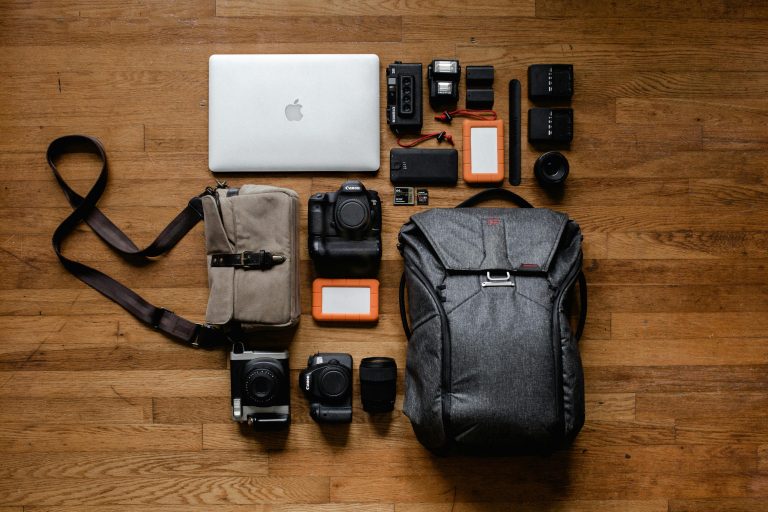
3. Get yourself a quality pack. If you plan on hiking this will be the best way to keep your back from getting destroyed and to keep your gear safe. Camera packs come in all shapes and sizes, find the one that fits the gear you want and fits your body well.
4. Three legs are better than two. You can do so much handheld, yes I agree. That being said you can do even more with a sturdy tripod. Even if you only use it a few times, it will be worth it. If you are looking for any astrophotography orlong-exposuree photography you are going to need a tripod.
5. Bring a laptop. But more importantly, bring backup drives. I take a minimum of two external hard drives on any trip. Back up your shots daily!
Some noncamera gear choices:
6. Headlamps are a lifesaver, not just for the hike but while shooting in the dark.
7. Rubber boots or waders come in handy. There is always that one shot that would look better from in the water.
8. Quality hiking shoes are a must. Trust me, your feet will thank you.
9. Get a local SIM card. This may be obvious to some, but you will need it to stay current with weather and if there is an emergency you will want that voice plan as well.
Final Thoughts
Now that you are prepped the only thing left to do is close your eyes and point to a spot on the map. I hope you took some tips away that will land you shooting the best photos on your next adventure! Remember it’s not about the destination it’s about the journey.